Double Sided Tape Sticky performance often fades for a simple reason: dust, skin oils, or fibers cover the adhesive. Heat and age can also change its properties. The tape may look fine, yet fail to hold a lightweight frame or cable clip. Frustrating, but common.
Adhesion researcher Dr. David A. Dillard has studied how surfaces and adhesives interact. A practical paraphrase of that science—not a verbatim quotation—is: “A clean surface is essential, but it cannot restore damaged adhesive.” That distinction matters. Wiping nearby glass may improve contact, but it will not reliably renew tape contaminated with lint or weakened by age.
This guide explains what to check before trying a fix. Look for a dusty adhesive face, residue on the surface, or tape that has stretched and lost its shape. Clean the mounting surface with a suitable method, then let it dry completely. Avoid scraping delicate finishes or applying cleaners directly to unknown adhesives. Sometimes the tape can be repositioned carefully. Sometimes replacement is the safer answer. I used to assume firmer pressure solved every failure; it did not. Pressure cannot make dirty adhesive clean. And results vary. Tape type, surface texture, temperature, and load all affect performance, so test a small area before trusting a repaired bond.
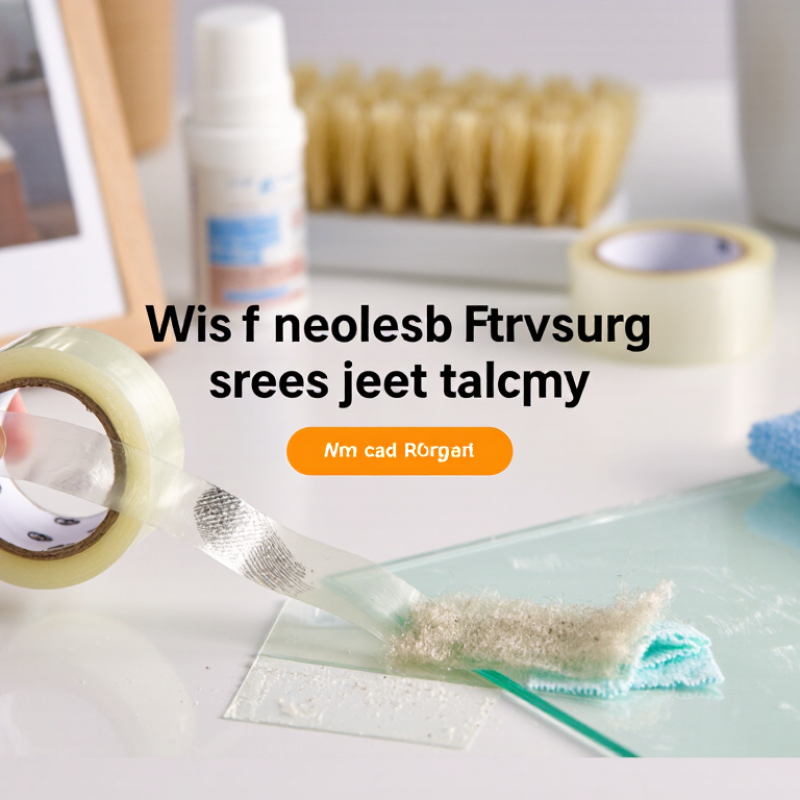
Before trying to make double-sided tape sticky again, identify its construction and inspect its condition. Thin film tape, foam tape, and tissue-backed tape can behave differently because their adhesive and backing materials differ. Acrylic adhesive often tolerates aging and temperature better than rubber-based adhesive, but the exact formulation matters. Check the liner or packaging if available; appearance alone cannot reliably reveal adhesive chemistry. A clear film may look sound while its exposed adhesive has collected dust.
Look closely at the roll and a small sample. Is the backing brittle, curled, stretched, or discolored? Does the adhesive feel dry, form strings, or leave a greasy residue? Press a short strip onto clean glass, then peel it back slowly. Weak grip can point to contamination or aging, but this quick check is not a standardized test. Not every tape recovers. Cleaning may remove surface dust, but solvents or water can damage the adhesive and backing. Grand View Research’s 2023 Adhesive Tapes Market report estimated the global market at about USD 75.3 billion, reflecting a wide range of tape constructions—not one universal repair method. If the tape has separated layers, hardened adhesive, or a damaged backing, replacement is usually more reliable than attempting to restore tack.
| Tape Type or Condition | Common Signs | Can It Be Made Sticky Again? | What to Do | Important Consideration |
|---|---|---|---|---|
| Removable or repositionable tape | Designed for temporary attachment; may lift cleanly and have a relatively low-tack adhesive. | Sometimes, briefly | Remove dust or lint gently from the exposed adhesive with clean, dry fingers or a soft, lint-free cloth. Test the tape on a small area before reuse. | Repeated repositioning can reduce adhesion. Do not assume removable tape will support heavy objects. |
| Permanent acrylic- or rubber-based tape | Adhesive remains on the tape, but the bond is weak after repeated handling or removal. | Usually only if lightly contaminated | Check that the adhesive is clean and intact. For a dependable bond, use a fresh piece rather than trying to revive old tape. | Adhesive performance depends on the tape construction, surface, pressure, temperature, and time allowed for bonding. |
| Dusty or lint-covered adhesive | Visible particles, fibers, or hair cover part of the sticky surface. | Limited | For minor loose debris, carefully lift particles with clean tweezers. If contamination is widespread, replace the tape. | Washing with water or wiping with solvents can damage the adhesive or carrier and is not a reliable way to restore tack. |
| Oily, greasy, or chemically contaminated tape | Adhesive feels slick, has residue from skin oils or products, or has contacted a cleaner or solvent. | Generally no | Discard the affected piece and apply new tape to a clean, dry surface. | Do not use heat or solvents to try to remove contamination; these may soften, spread, or damage the adhesive. |
| Hardened, dried, or aged adhesive | Tape has become brittle, unusually stiff, yellowed, or no longer feels tacky. | No reliable restoration | Replace it with fresh tape and follow the storage instructions on its packaging. | Age, prolonged exposure to heat or sunlight, and unsuitable storage can cause adhesive properties to change permanently. |
| Adhesive transferred to the surface | The tape backing lifts away while adhesive remains on the object, or the tape separates into layers. | No | Remove the damaged tape. Clean the surface using a method suitable for that material, let it dry completely, and apply new tape. | Test any cleaning method in an inconspicuous spot first, especially on painted, coated, or delicate surfaces. |
| Tape that will not bond to a dirty or textured surface | Tape seems sticky but peels away from a surface with dust, moisture, oil, or a rough finish. | The tape may be fine | Prepare the surface according to its material: remove dust and grease with an appropriate cleaner, then allow it to dry. Apply firm, even pressure. | Some rough, porous, damp, or low-energy surfaces may not suit ordinary double-sided tape; select tape designed for the application. |
Key takeaway: Double-sided tape cannot usually be restored once its adhesive has degraded, transferred, or become heavily contaminated. If the tape is only lightly dusty, careful removal of loose debris may help temporarily; for a reliable attachment, replace it with fresh tape.
Check its packaging or liner for material details. Film, foam, and tissue-backed tapes behave differently.
Look for brittle backing, curled edges, discoloration, or separated layers. Dry, stringy, or greasy adhesive can also indicate trouble.
Press a short strip onto clean glass, then peel it back slowly. This is only a quick check, not a standardized test.
Sometimes. Rinse labeled washable gel tape gently under cool water to remove dust, lint, and skin oils.
Hold it by the edges and loosen dirt with your fingertips. Avoid scrubbing, hot water, and soap unless care instructions allow it.
Let it air-dry completely with the adhesive facing up. Don’t wipe it with a towel; fibers may cling.
Press the dry tape onto a clean, smooth surface and test it with a light object. Results vary.
Replace tape with hardened adhesive, damaged backing, or separated layers. A cloudy or torn gel surface may not recover. I’d be cautious.
To make Double Sided Tape Sticky again, first identify what kind of tape you have and check its condition. Some tapes are designed to be reused, while others lose their adhesive after one use or become damaged over time. For reusable tape, gently remove dust, lint, and other debris from the surface. If it is washable gel tape, rinse it with cool water to clear away residue without using harsh cleaners.
Let the tape air-dry completely before trying to use it again; applying it while damp can weaken its hold. Once dry, test its adhesion on a small, clean surface and check whether it can support the intended item. If the tape remains dirty, torn, stretched, or unable to hold securely, replacing it is the safest and most reliable option.